Installing Windows 10 on your Mac with macOS is much more simple than you thought, but you need time, patience and a backup (just to be sure!). You just need a Windows 10 ISO and Boot Camp Assistant (already on your Mac). We’re going to explain to you how step by step.
Download Windows 10 ISO
Go to Microsoft’s website and download Windows 10 ISO. Select Windows 10 from the drop-down Selec Edition menu, click on Confirm, choose your language and confirm again. Then select 64-bit download.
Launch Boot Camp Assistant
Once you got the ISO, look for Boot Camp Assistant in Applications > Utilities and click on Continue. You’ll see an introductory screen, where you have to select Continue and follow the procedure, choosing your activity. During installation, click on Choose and select your Windows 10 ISO.
Now you have to choose the size of your Windows partition. Pay attention: you won’t be able to change it afterward, so you have to choose wisely.
Click on Install. Boot Camp Assistant will arrange the system. It will ask for your admin password, then macOS will reboot, and you’ll see Windows setup screen.
Install Windows 10
On Windows setup screen select language, time, keyboard and so on and so forth. You have to activate Windows with the product key, writing it in the form. You can activate it afterward if you have no key yet.
Select Windows 10 Pro or Windows 10 Home, and continue.
You have now to accept terms and conditions, and the actual installation process will start. It will last a few minutes. Your Mac will reboot with the Windows logo onscreen, and you’ll have to make the last setup steps and reboot again.
Now you have to create an account, and there’s no need to use a password at this moment. You can turn on Cortana, Microsoft’s virtual assistant, now or later.
You’ll see now Windows 10 desktop and a welcome screen to Boot Camp installer. Accept terms and conditions, select Install and go ahead. New windows may pop up, asking for further drivers installations. Once the installer has no more process, select Reboot System and confirm.
At reboot, click on Wi-Fi icon in the menu bar and connect to your Wi-Fi network.
Launch Apple Software Update
Click on Start and select Apple Software Update. Install all updates. In the end, your Mac will boot again in Windows 10.
Now, click again on Start, look for Windows updates and install them too.
Activate Windows or log in Windows Insider Program
Now you can choose if activate Windows with a valid key, buy it directly from your OS or join Windows Insider Program: it grants you a free activation, but you have to install pre-release Windows 10 version so that stability won’t be your best friend.
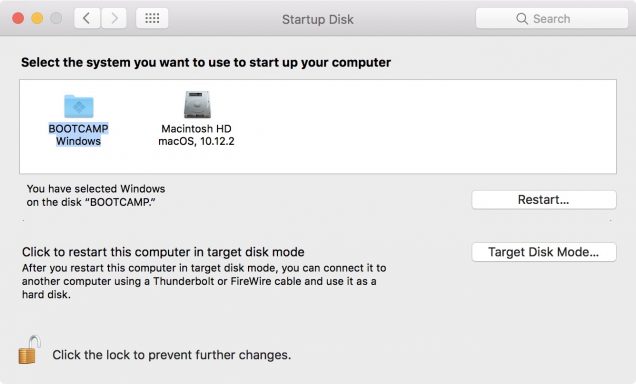
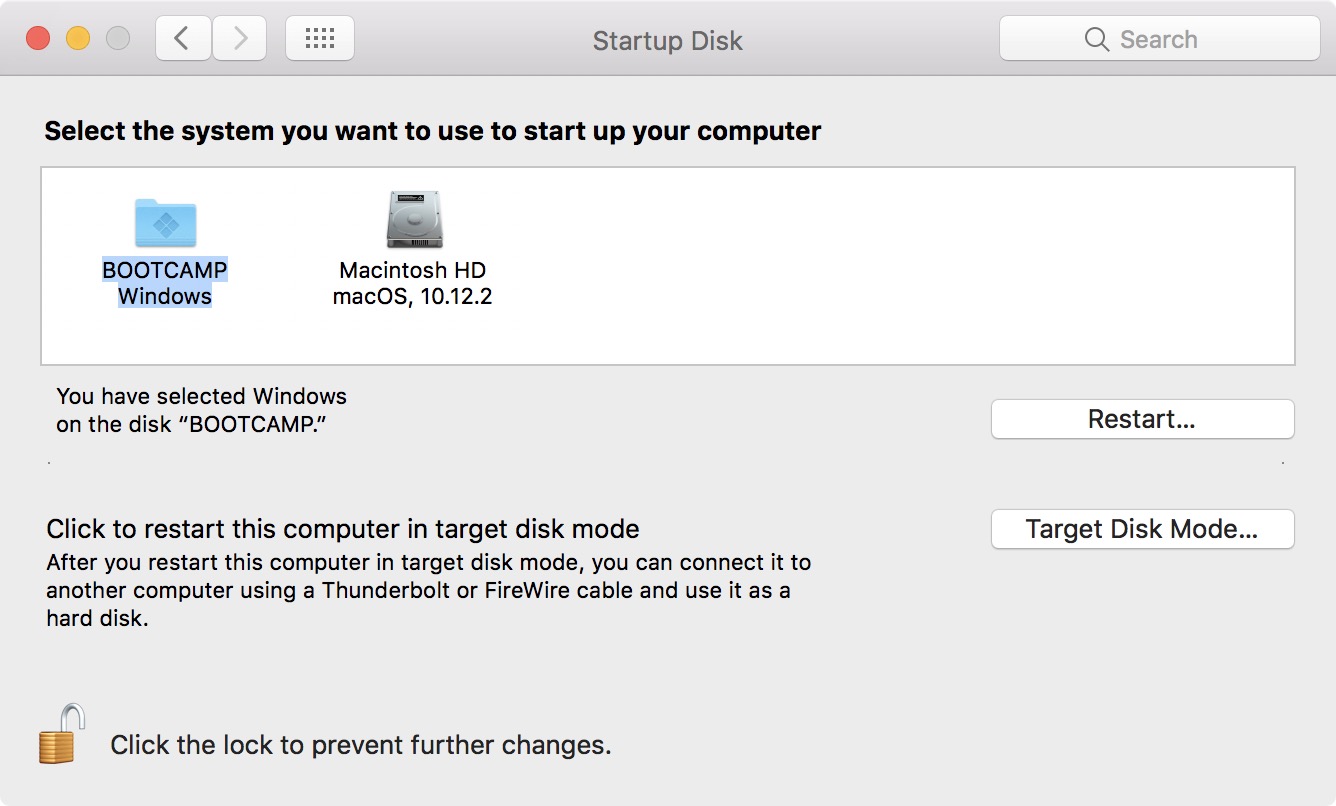
Reboot your Mac either in macOS or Windows 10
You can jump from one OS to the other pressing Alt button at reboot. By doing so, you’ll choose which one to use.