Do you want to upgrade or replace your old and small Windows Server 2012/2008 hard drive with a newer and larger one for better performance? Don’t worry if you don’t know how to do so. We’ll show you how to clone a Server hard drive to a new HDD/SSD on this page.
- Preparation– Get everything ready
- Clone Server Hard Drive– Clone to new hard drive
- Set Cloned Hard Drive Bootable – Make New Server Disk Bootable
By following this tutorial, you’ll successfully upgrade your Windows Server hard drive, transferring the Windows Server system and all the data from one hard drive to another safely.
How to clone Windows Server hard drive
When it comes to upgrading a hard disk, migrating data to a new disk, an ordinary Windows user may come up with the idea of using “Copy” + “Paste” for help. However, these jobs cannot simply “copy” and “paste” the Windows Server system and data to another new disk. The Server system won’t be able to boot properly by doing so.
Is there an efficient way that can help to upgrade Windows Server hard drive? Yes. Cloning Server hard drive is an efficient way to transfer data and system in Windows Server 2016, 2012, 2008, 2003. To do so, you’ll need reliable Server cloning software for help.
Download Windows Server cloning software
Here, reliable Windows Server cloning software – EaseUS Todo Backup Enterprise with its disk cloning feature makes the disk cloning process easy for all levels of Windows Server users.
You can download it and apply it to clone and upgrade the hard disk to a new HDD/SSD with the following guide now:
After downloading and installing this software on your Server computer, let’s start cloning your hard disk now.
#1. Preparation – Make old and new hard disk ready
With EaseUS Todo Backup installed on your Windows Server computer, you still have one more thing to do. It is to get both your old and new hard disks ready.
#1. Clear useless files on old drive
It’s important that you delete junk files, and remove useless large files from your old disk. That will help you save a lot of useful space and speed up the cloning process.
To do so, you can choose to identify and delete those useless files manually. Or, you can turn to a reliable file cleaner tool like EaseUS CleanGenius for help.
#2. Install and initialize new HDD/SSD
Remember to purchase an equal or even bigger HDD/SSD for the disk cloning. If the new hard disk has a smaller storage capacity, you’ll lose data or the disk cloning process may fail.
Now, you can install the new hard drive correctly to your computer and follow the steps to initialize it:
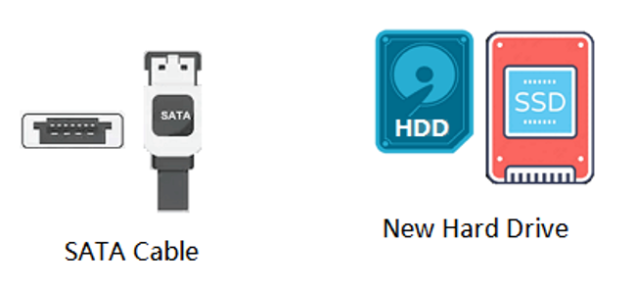
Step 1. Shut down Windows Server PC and install the new HDD or SSD correctly.
Plug the new hard drive into your computer motherboard via the SATA cable and power cable.

Step 2. Press Windows + R keys, type diskmgmt.msc, and click “OK”.
Step 3. Enter Disk Management, right-click the new hard drive or SSD, and select “Initialize Disk”.
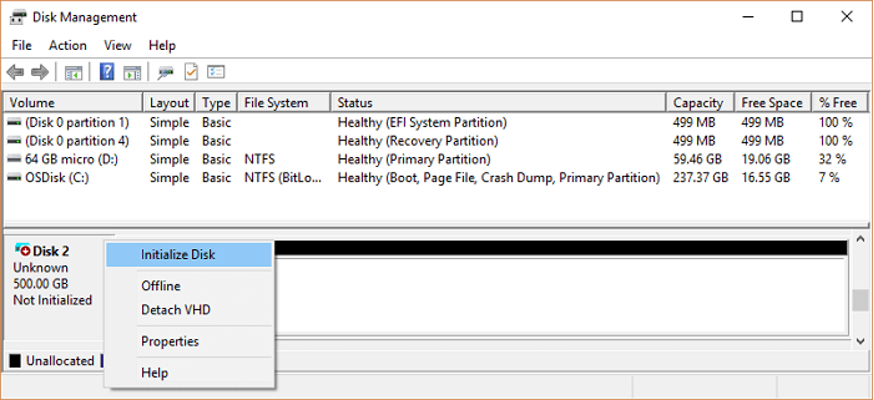
Step 4. Set the disk as the same partition style as the old source disk – MBR or GPT. Click “OK” to confirm.
#2. Clone Windows Server hard drive with server clone software
You can now use EaseUS Server cloning software to clone the Windows Server system, installed applications, and all data on the old disk to another hard drive or SSD now. It can help users do these operations in the least time and with the simplest steps.
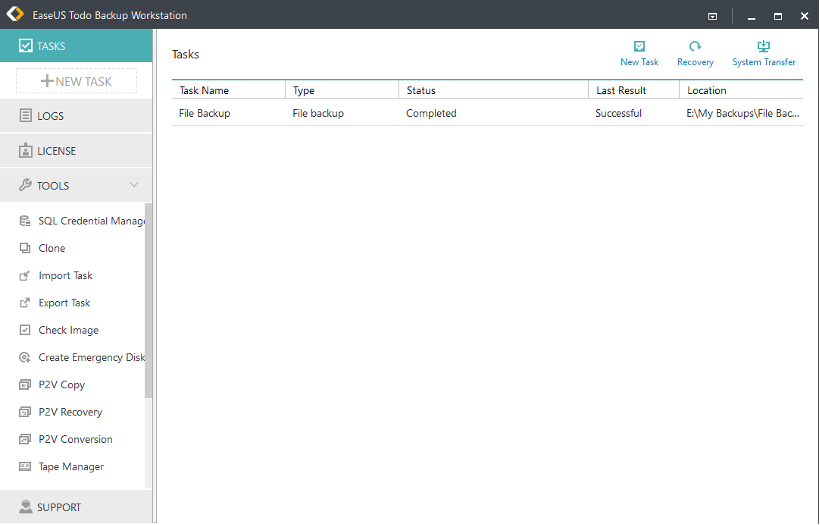
Step 1. Open the program and select “Clone” from the main menu.
Step 2. Select the source hard drive that you want to clone. This should be the drive that contains your Windows Server operating system and all of your installed programs and files.
Step 3. Select the destination hard drive that you want to clone to. This should be a new, empty hard drive that is at least as large as the source hard drive.
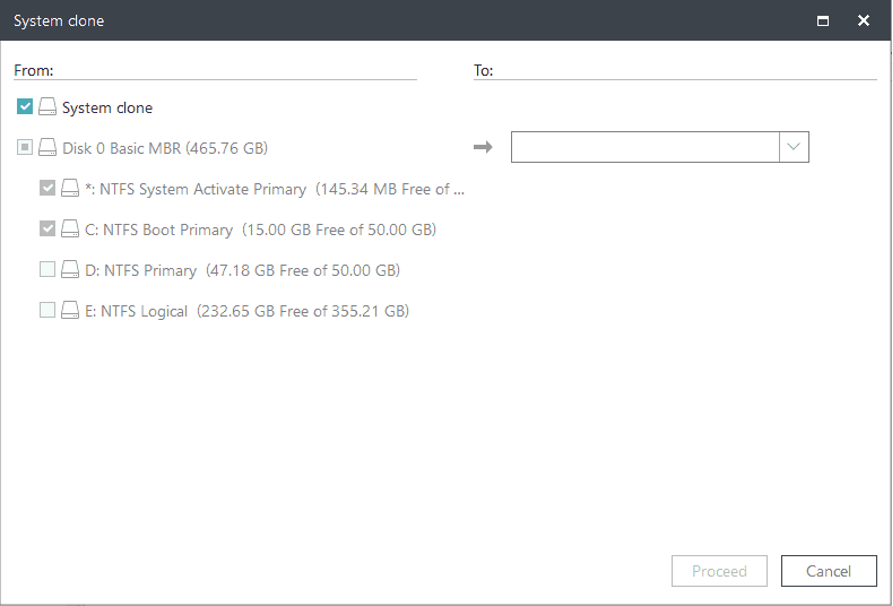
Step 4. Click “Proceed” to start the cloning process.
Wait for the cloning process to complete. This may take some time, depending on the size of the hard drives and the speed of your server.
Once the cloning is complete, you can boot the server from the destination hard drive to verify that the clone was successful.
Note: Before starting the cloning process, creating a backup of your server’s data is a good idea. This will ensure that you have a copy of your data if something goes wrong during the cloning process. EaseUS Todo Backup Enterprise provides a range of backup and recovery options, including system backup, disk/partition backup, and file/folder backup.
#3. Set cloned hard drive bootable after cloning
Note that if you cloned a Windows Server system drive, it’s important to set up the cloned drive after the operation. Here is how to set up your new HDD or SSD as the boot drive on the Windows Server computer:
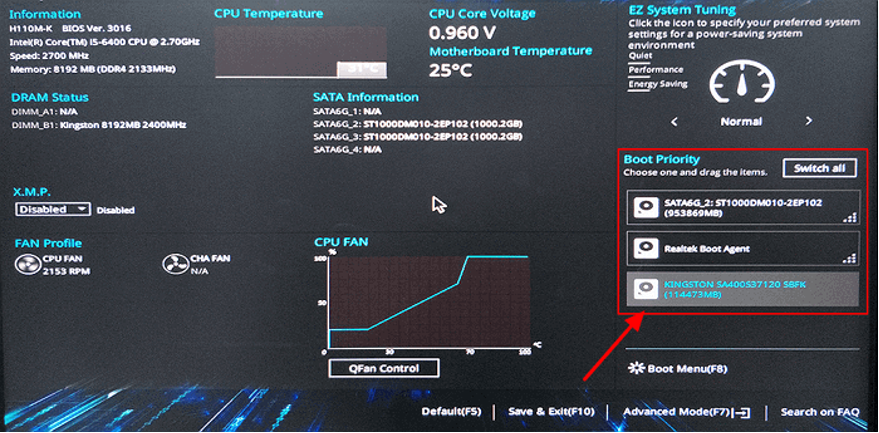
Step 1. Restart the Server PC and press F2/F12/Del to enter BIOS.
Step 2. Go to the Boot section, set the Server computer to boot from the new hard drive.
Step 3. Save the changes, exit BIOS, restart PC.
After this, your computer will boot up Windows Server on the new hard drive. All you need is to wait for the process to complete.
Conclusion
On this page, we introduced reliable Server cloning software – EaseUS Todo Backup to help you upgrade and clone a Windows Server hard drive.
- To do so, you need to download reliable Server cloning software and get old/new disks ready first.
- Then, you can clone Windows Server 2019/2016/2012 hard drive.
- Last, when the cloning process completes, remember to set up the new disk as the boot drive in Windows Server BIOS.
See, this is the whole process of cloning a Windows Server hard drive to a new HDD/SSD without data loss nor boot issue.